Reverse Engineering the iStrip+ App for Local Control – Part 2
In Part 1, I reverse engineered the iStrip+ app’s native AES encryption and discovered the encryption key hidden in libAES.so. With my coffee cup finally refilled, it was time to put that knowledge into practice: replicate the encryption in Python, generate valid BLE payloads, and build a Home Assistant integration.
Step 4: First Python Tests
With the AES key extracted and the protocol structure mapped out from Part 1, I was eager to test if everything actually worked. Time to write some Python and see if I could make the lamp do something. Anything.
Development Environment
I quickly learned that not all development environments are created equal. While my Mac seemed like the obvious choice, getting Bleak and the underlying BLE stack to play nice on macOS turned into its own rabbit hole. After a few frustrating hours, I switched to my Raspberry Pi 4 and everything just… worked. Debian’s BlueZ support out of the box made it the clear winner for BLE development.
The key components I needed:
- AES encryption using the extracted key
- Payload structure matching the app’s format
- BLE communication using the Bleak library
Here’s the initial test script structure:
from Cryptodome.Cipher import AES
from bleak import BleakClient

KEY = bytes([
    0x34, 0x52, 0x2A, 0x5B, 0x7A, 0x6E, 0x49, 0x2C,
    0x08, 0x09, 0x0A, 0x9D, 0x8D, 0x2A, 0x23, 0xF8
])

HEADER = bytes([0x54, 0x52, 0x00, 0x57])
GROUP_ID = 1
CHAR_UUID = "0000ac52-1212-efde-1523-785fedbeda25"

class CommandType:
    Rgb = 2
    # Other command types...

def get_rgb_payload(red, green, blue, brightness=100):
    payload = bytearray(16)
    payload[0:4] = HEADER
    payload[4] = CommandType.Rgb
    payload[5] = GROUP_ID
    payload[7] = red
    payload[8] = green
    payload[9] = blue
    payload[10] = brightness

    cipher = AES.new(KEY, AES.MODE_ECB)
    return cipher.encrypt(bytes(payload))
First Connection Test
The first hurdle was actually finding and connecting to the device. I started by scanning for devices using the manufacturer data I’d seen earlier:
async def find_istrip_device():
    devices = await BleakScanner.discover(timeout=5.0)
    for device in devices:
        # Check manufacturer ID 0x5254 for iStrip+
        if manufacturer_data and 0x5254 in manufacturer_data:
            return device.address
Once I had the device address, I sent the moment-of-truth command:
async with BleakClient(address) as client:
    payload = get_rgb_payload(red=255, green=0, blue=0)
    await client.write_gatt_char(CHAR_UUID, payload, response=False)
And it worked! The lamp turned red. After weeks of staring at assembly code and hex dumps, seeing that first color change felt like magic. I may have done a small victory lap around my apartment.
Step 5: Building the Payload Generator
With the successful test proving the concept worked, it was time to clean up my messy test code and build something reusable. No more copy-pasting byte arrays. I needed a proper payload generator.
class CommandType:
    JoinGroupRequest = 1
    Rgb = 2
    Rhythm = 3
    Timer = 4
    RgbLineSequence = 5
    Speed = 6
    Light = 7

class PayloadGenerator:
    KEY = bytes([
        0x34, 0x52, 0x2A, 0x5B, 0x7A, 0x6E, 0x49, 0x2C,
        0x08, 0x09, 0x0A, 0x9D, 0x8D, 0x2A, 0x23, 0xF8
    ])

    HEADER = bytes([0x54, 0x52, 0x00, 0x57])
    GROUP_ID = 1

    def __init__(self):
        self._cipher = AES.new(self.KEY, AES.MODE_ECB)

    def get_rgb_payload(self, red, green, blue, brightness=100, speed=100):
        payload = bytearray(16)
        payload[0:4] = self.HEADER
        payload[4] = CommandType.Rgb
        payload[5] = self.GROUP_ID
        payload[6] = 0x00  # Reserved
        payload[7] = red
        payload[8] = green
        payload[9] = blue
        payload[10] = brightness
        payload[11] = speed

        return self._encrypt_and_format(payload)

    def send_led_off(self, brightness=0, speed=100):
        payload = bytearray(16)
        payload[0:4] = self.HEADER
        payload[4] = CommandType.Rgb
        payload[5] = self.GROUP_ID
        payload[6:9] = b'\x00\x00\x00'
        payload[10] = brightness
        payload[11] = speed

        return self._encrypt_and_format(payload)

    def _encrypt_and_format(self, payload: bytearray) -> str:
        encrypted = self._cipher.encrypt(bytes(payload))
        return ''.join(f'{b:02x}' for b in encrypted)
The key insight was that all commands follow the same 16-byte structure:
| Bytes | Purpose |
|---|---|
| 0-3 | Header (0x54520057) |
| 4 | Command type |
| 5 | Group ID |
| 6-11 | Command-specific data (RGB, brightness, speed) |
| 12-15 | Padding (zeros) |
After encryption with AES-ECB mode, the payload is sent as a hex string to the BLE characteristic.
Step 6: Home Assistant Integration
Now for the fun part. The whole reason I started this journey: building a custom Home Assistant integration. No more opening apps or running Python scripts manually. I wanted to control this lamp like any other light in my smart home.
Integration Structure
The integration follows Home Assistant’s standard structure:
istrip/
├── __init__.py              # Entry point
├── config_flow.py           # UI configuration
├── const.py                 # Constants
├── light.py                 # Light entity implementation
├── manifest.json            # Integration metadata
├── payload_generator.py     # Payload generation
└── translations/
    └── en.json             # UI translations
Config Flow: Automatic BLE Discovery
One of the key features is automatic device discovery. The config flow handles both automatic Bluetooth discovery and manual device selection:
class IstripConfigFlow(config_entries.ConfigFlow, domain=DOMAIN):
    async def async_step_bluetooth(self, discovery_info):
        """Handle Bluetooth discovery."""
        self._discovery_info = discovery_info
        return await self.async_step_bluetooth_confirm()

    async def async_step_user(self, user_input=None):
        """Handle manual device selection."""
        if user_input is not None:
            address = user_input[CONF_ADDRESS]
            char_uuid = await self._discover_char_uuid(address)
            return await self.async_step_bluetooth_confirm()

        # Scan for devices
        for discovery_info in async_discovered_service_info(self.hass):
            if discovery_info.name:
                self._discovered_devices[address] = discovery_info

        return self.async_show_form(
            step_id="user",
            data_schema=vol.Schema({
                vol.Required(CONF_ADDRESS): vol.In(device_list)
            })
        )
The integration automatically discovers the writable BLE characteristic UUID, making setup seamless:
async def _discover_char_uuid(self, address: str) -> str | None:
    async with BleakClient(address) as client:
        services = client.services
        for service in services:
            for char in service.characteristics:
                if "write" in char.properties:
                    return str(char.uuid)
Light Entity Implementation
The light entity implements the LightEntity interface with full RGB and brightness control:
class IstripLight(LightEntity):
    def __init__(self, address, char_uuid):
        self._address = address
        self._char_uuid = char_uuid
        self._is_on = False
        self._rgb_color = (255, 255, 255)
        self._brightness = 255
        self._pg = PayloadGenerator()

    @property
    def supported_color_modes(self):
        return {ColorMode.RGB}

    async def async_turn_on(self, **kwargs):
        r, g, b = self._rgb_color
        brightness = self._brightness

        if ATTR_RGB_COLOR in kwargs:
            self._rgb_color = kwargs[ATTR_RGB_COLOR]
            r, g, b = self._rgb_color

        if ATTR_BRIGHTNESS in kwargs:
            self._brightness = kwargs[ATTR_BRIGHTNESS]
            brightness = int(self._brightness * 100 / 255)

        self._is_on = True
        payload = self._pg.get_rgb_payload(r, g, b, brightness)
        await self._send_payload(payload)

    async def async_turn_off(self, **kwargs):
        self._is_on = False
        payload = self._pg.send_led_off()
        await self._send_payload(payload)

    async def _send_payload(self, hex_payload):
        try:
            async with BleakClient(self._address) as client:
                await client.write_gatt_char(
                    self._char_uuid,
                    bytes.fromhex(hex_payload),
                    response=False
                )
        except Exception as e:
            _LOGGER.error(f"Failed to send BLE payload: {e}")
Installation & Usage
Installation is straightforward:
- Copy the
istripfolder tocustom_components/ - Restart Home Assistant
- Go to Settings → Devices & Services → Add Integration
- Search for iStrip BLE Light
- Select your device from the discovered list
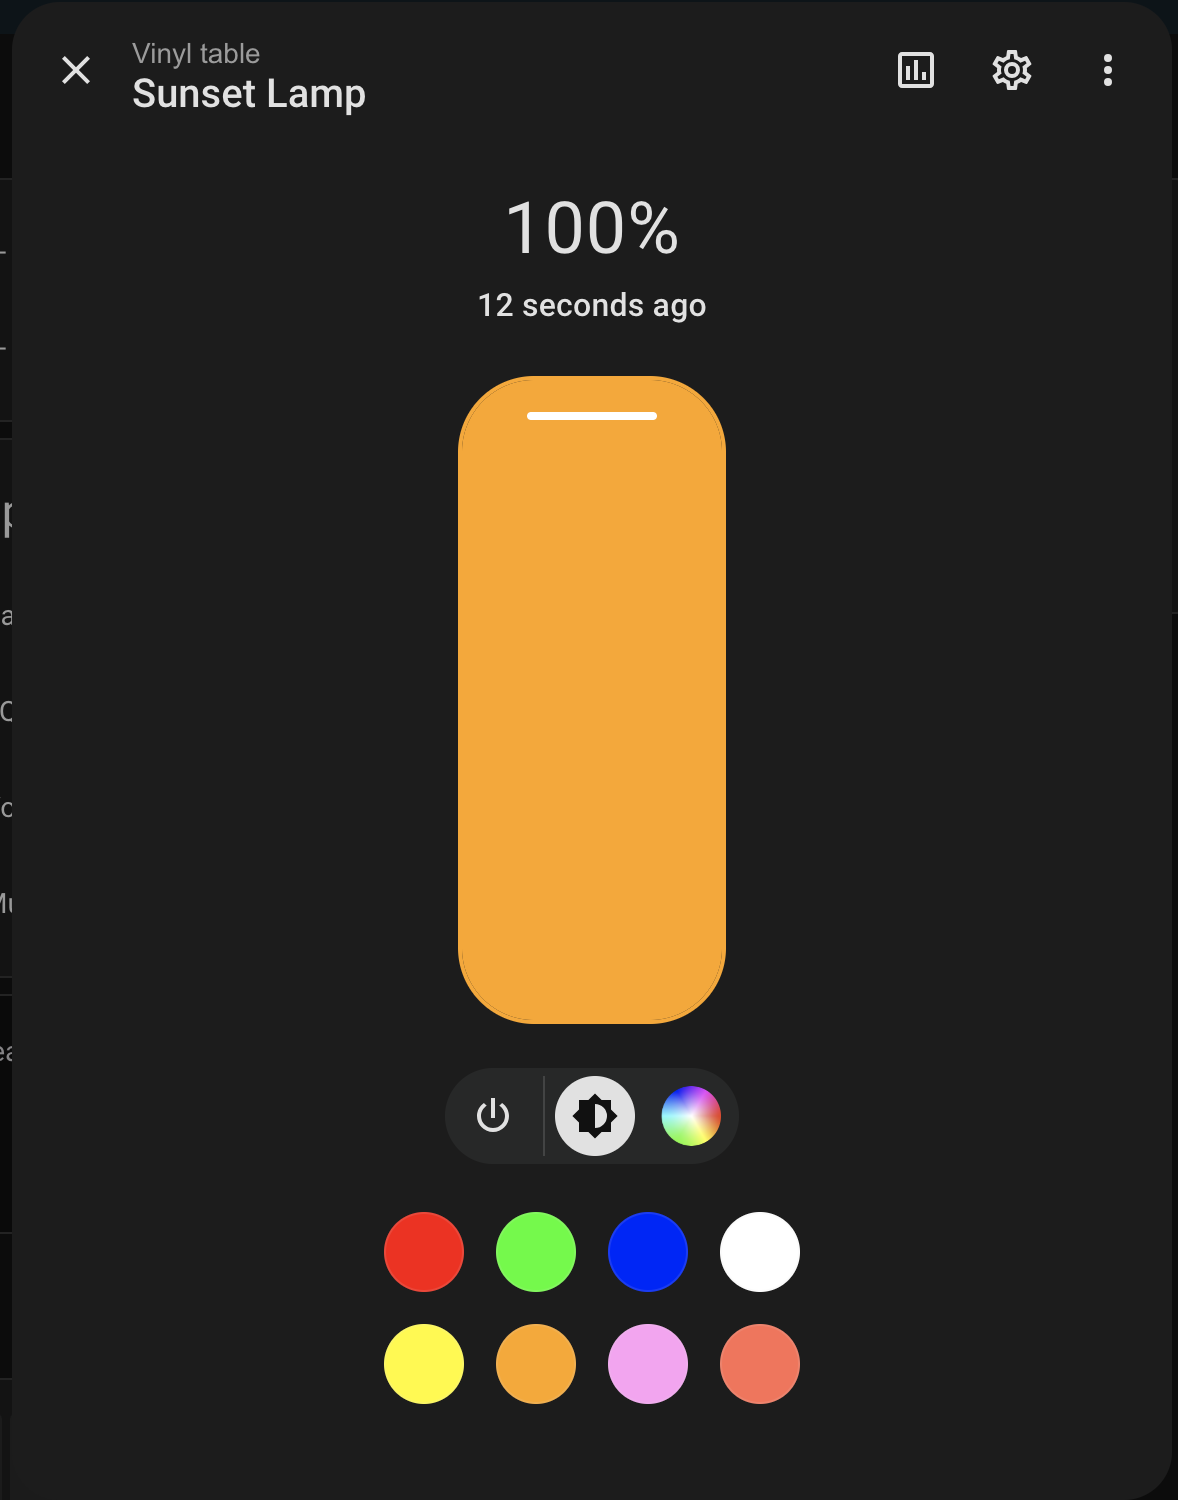
Once configured, the lamp appears as a standard Home Assistant light entity with full RGB and brightness control.
Challenges & Learnings
BLE Connection Management
As expected with BLE devices, connection management was… temperamental. These devices can be finicky about timing and they really don’t like multiple simultaneous connections. After several “why won’t you just connect?!” moments, I figured out a few tricks:
- Using
async with BleakClient()for automatic connection cleanup - Adding proper error handling for connection failures
- Using
response=Falsefor write operations (faster, more reliable)
Brightness Scaling
The lamp expects brightness values from 0-100, but Home Assistant uses 0-255. I had to convert between these ranges:
brightness = int(self._brightness * 100 / 255)
macOS Bluetooth Discovery
Remember how I mentioned macOS BLE was problematic? Well, even the device discovery returns data in a completely different format than Linux. Because of course it does. I had to handle both formats:
if hasattr(device, "details") and device.details:
    # macOS: details is (advertisementData, rssi)
    adv_data = device.details[0]
    mdata = adv_data.get("kCBAdvDataManufacturerData", {})
elif hasattr(device, "metadata") and device.metadata:
    # Linux: metadata contains manufacturer_data
    mdata = device.metadata.get("manufacturer_data", {})
What’s Next?
So the integration works, I can control the lamp locally, no cloud required. Mission accomplished, right? Well… not quite. The official iStrip+ app has a bunch of fancy features I haven’t tackled yet:
Built-in Effects
The app includes various lighting effects like color transitions, breathing modes, and rainbow cycles. These use the CommandType.Rhythm and CommandType.RgbLineSequence command types that I identified in the APK but haven’t fully reverse engineered yet.
Microphone Reactive Mode
One of the coolest features in the original app is the ability to change colors based on microphone input, making the lamp pulse to music or ambient sounds. This requires understanding how the app processes audio data and translates it into lighting commands, which I plan to explore in a future update.
Scheduler Support
The app allows scheduling lights to turn on/off at specific times using CommandType.Timer. While Home Assistant has its own automation capabilities, implementing native timer support would allow the lamp to function independently, even when disconnected from Home Assistant.
These features will require diving back into Ghidra and capturing more BLE traffic from the official app. But honestly? For now, I’m pretty happy. The core functionality, local RGB control without any cloud dependencies, works perfectly. The lamp finally does what I want, when I want, without phoning home to some server halfway across the world.
Update (March 12th, 2026): The Built-in Effects (Finally)
So about those built-in effects I mentioned earlier. I finally caved and mapped them out.
Turns out there are 12 of them, ranging from slow, subtle breathing to absolute strobe-light madness. I pulled the trigger and imported the entire [light.py] logic I was testing directly from my live Home Assistant pod (because why edit locally when the container is already the source of truth?), and wired it all up.
The integration now supports full UI synchronization using Home Assistant helpers (input_select and input_number), meaning I can finally control the effect type and the animation speed right from my dashboard without touching the physical remote. Is it overkill? Probably. Am I happy with it? Absolutely.
Final Thoughts
Weeks of staring at hex dumps, decompiled Java, and Ghidra’s C-like output. BLE protocols, AES encryption, ARM binaries. All because I wanted to turn a lamp on from my phone without some company’s cloud server in the middle.
The complete integration is now available and can be installed manually from the repository. Once the other features are implemented, I’ll consider submitting it to the Home Assistant Community Store (HACS) for easier installation.
Key Takeaways
- Many “cloud-only” devices actually use local protocols. They just don’t document them
- Reverse engineering takes patience. Expect dead ends and false starts
- Start with high-level analysis (network/BLE traffic) before diving into binaries
- Native libraries often hide the secrets. Tools like Ghidra are essential
- Home Assistant makes custom integrations surprisingly accessible
- Ship a working MVP first. You can always add features later
If you have a smart device that’s locked to the cloud, don’t give up. The protocol might be simpler than you think. Start by capturing traffic, look for patterns, and work your way down to the implementation details. You might be surprised what you find.